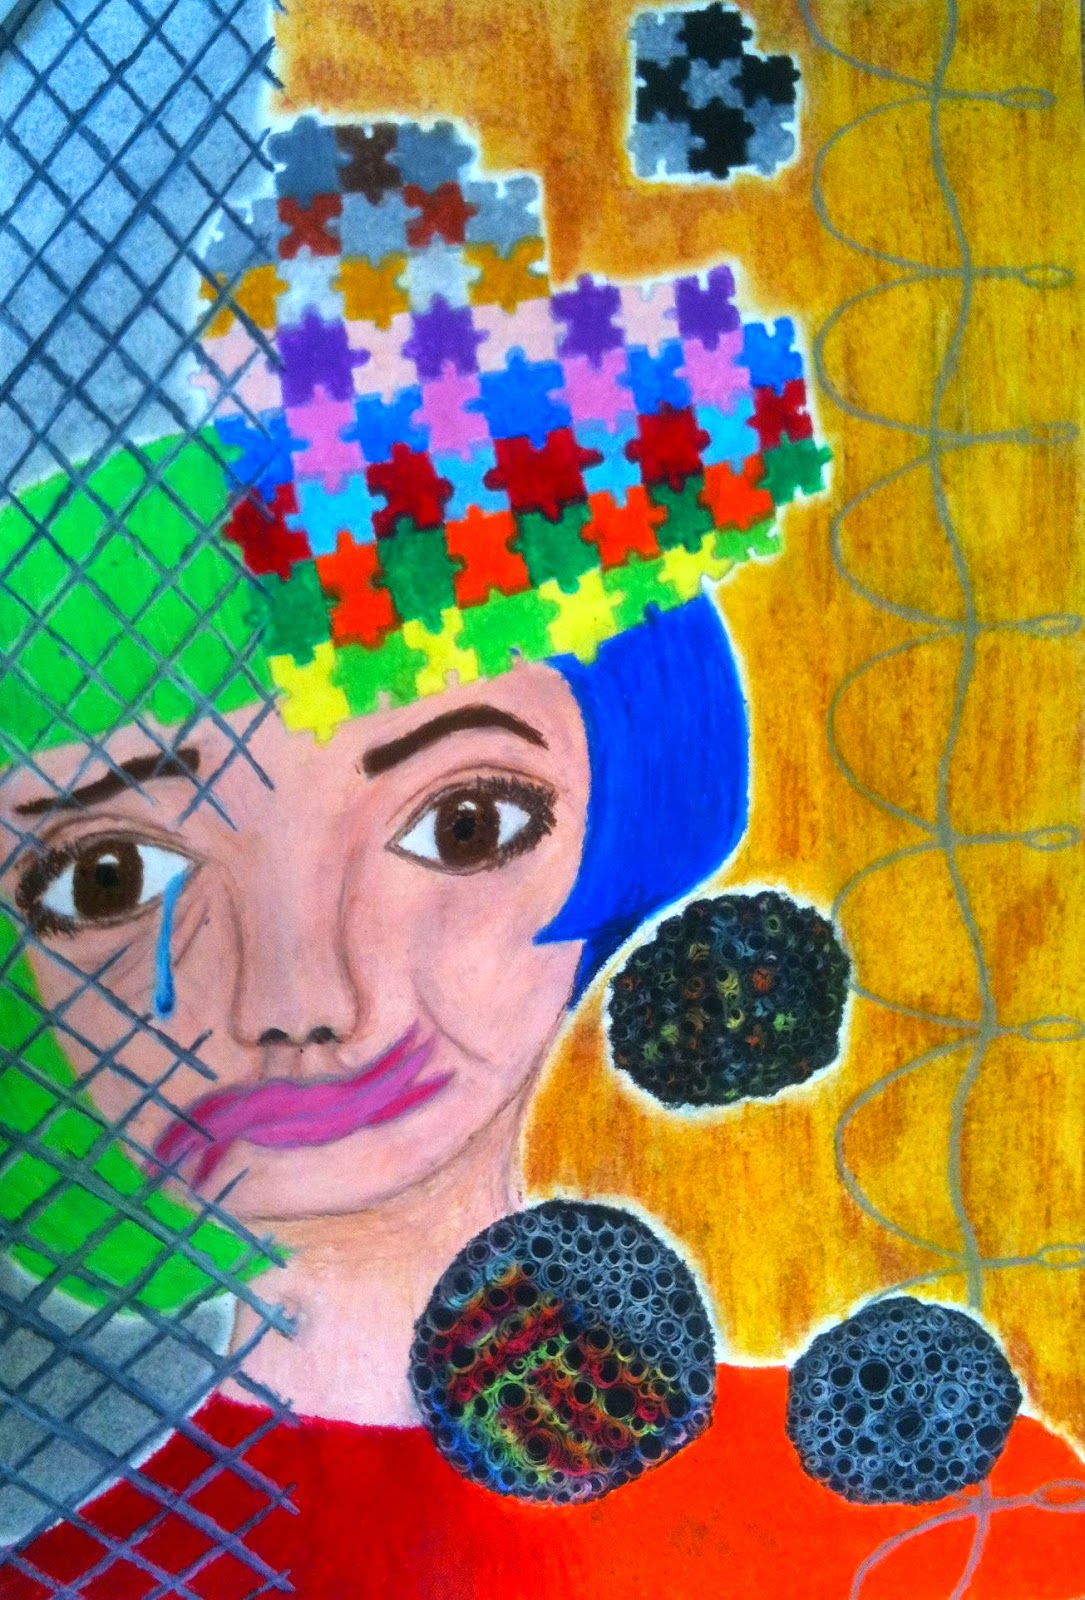
Facial Proprotion and Self Expression with Frederic Bonin-Pissarro
INTRODUCTION to lesson (Anticipatory set):
INTRODUCTION to lesson (Anticipatory set):
Blind Contour Drawing:
Draw the face across from you
Grab all details Eyes, Nose, Mouth, ears, Hair, etc.
Two Minutes
Students will: Independently complete the activity
Discuss the completed activity with group members Share final drawing with group
Participate in class discussion on the activity
OBJECTIVE: Draw and shade each part of the face: Eye, Nose, Mouth, Ear. Students will gain knowledge in proportion of the face and complete a portrait using accurate proportion and self expression
Draw a face in Blind Contour for pre-assessment
Discuss and practice drawing each item of the face over five days
Practice drawing a complete portrait in pencil
Students will be able comprehend and use these terms in relation to drawing
Pupil Cornea Highlights Shade Tint
Iris Sclera Tragus Tip Lateral side
Tear Duct Root Dorsum Columella Philtrum
Vermilion zone
CA STANDARDS:
1.1 Analyze and discuss complex ideas, such as distortion, color theory, arbitrary color, scale, expressive
2.1 Create original works of art of increasing complexity and skill in a variety of media that reflect their feelings and points of view.
2.2 Plan and create works of art that reflect complex ideas, such as distortion, color theory, arbitrary color, scale, expressive content, and real versus virtual.
2.2 Plan and create works of art that reflect complex ideas, such as distortion, color theory, arbitrary color, scale, expressive content, and real versus virtual.
3.1 Identify contemporary styles and discuss the diverse social, economic, and political developments reflected in the works of art examined.
4.4 Apply various art-related theoretical perspectives to their own works of art and the work of others in classroom critiques.
5.2 Compare and contrast works of art, probing beyond the obvious and identifying psychological content found in the symbols and images.
PURPOSE: Complete an accurate self-portrait while engaged in self-expression
INSTRUCTION:
Students will be instructed on how to draw a segment of the face each day, beginning with the eyes. They will spend half the class in instruction and half the class practicing their new skills. Over the course of six days, they will learn the eye, nose, mouth, ear, and proportions of the face. They will complete a whole portrait in pencil before beginning their self expression, self portrait inspired by the artist Frederic Pissarro.
MATERIALS: Sketch Books Drawing Pencils
Copy Paper Tag Board 12x18
Oil Pastels
DIRECT INSTRUCTION:
Day 1: Power Point Presentation EYE:
Opening: In sketch Books, Blind Contour Face activity
Review: Happy Mistakes make better artists
HOLDING YOUR PENCIL
Discussion: Parts of the eye
Step by step of the eye
Try each step in sketch book
Shading Techniques
ACTIVITY: Draw second eye next to first eye use mirror
Looking at subject as you draw it
MIRROR
Draw a partners eye from your table
CLOSURE: How are you feeling about drawing eyes?
Teacher Models:
Step by step of the eye
Students simultaneously draw an eye in their sketchbooks
Shading the eye using mirror and finding highlights and shades
Check for Understanding:
Monitor room During Step by Step Modeling in sketchbook
Monitor throughout second eye and partner eye
Day 2: Power Point Presentation NOSE
Opening: In sketch Books,
Think Pair Share: Eye activity Power Point
DISCUSSION: The parts of the nose
Step by step of the front nose using a mirror
Try each step in sketch book
Shading Techniques
Draw second nose next to first nose
Looking at subject as you draw it
MIRROR
DISCUSSION: Step by step of side nose
ACTIVITY: Draw four rectangles and fill them with different noses
CLOSURE: How are you feeling about drawing the nose?
Like/dislike/rules/etc.
Teacher Models:
Step by step of the front and side nose
Students simultaneously draw a nose in their sketchbooks
Shading the nose using mirror and finding highlights and shades
Check for Understanding:
Monitor room During Step by Step Modeling in sketchbook
Monitor throughout four nose drawing activity
Day 3: Power Point Presentation Ear
Opening: In sketch Books, Draw a nose from the visual directions
DISCUSSION: The parts of the EAR
Step by step of the ear from the front
Using a mirror
Draw your ear
As you see it from the front
Step by step of ear from the side
ACTIVITY: Draw second ear next to first ear
Draw a partners ear from your table
Try each step from the sketch book
CLOSURE: How are you feeling about drawing the mouth?
Like/dislike/rules/etc.
Teacher Models:
Step by step of the ear from the front
Students simultaneously draw an ear in their sketchbooks
Students have a moment to try ear from the front
Step by step of the ear from the side
Students simultaneously draw a ear in their sketchbooks
Students have a moment to try ear from the side by drawing
A partner’s ear
Shade the new ear finding highlights and shades
Check for Understanding:
Monitor room During Step by Step Modeling in sketchbook
Monitor throughout second mouth and partner mouth
Day 4: Power Point Presentation MOUTH
Opening: In sketch Books, Draw a nose from the visual directions
DISCUSSION: The parts of the Mouth
Step by step of the mouth using a mirror
Try each step in sketch book
Shading Techniques
ACTIVITY: Draw second mouth next to first mouth
Draw two eyes, a nose and a mouth on the same plain
Time permitting: add Two ears
CLOSURE: How are you feeling about drawing the mouth?
Like/dislike/rules/etc.
Teacher Models:
Step by step of the mouth
Students simultaneously draw a mouth in their sketchbooks
Shading The mouth using mirror and finding highlights and shades
Check for Understanding:
Monitor room During Step by Step Modeling in sketchbook
Monitor throughout second mouth and partner mouth
Day 5: Power Point Presentation: Facial Proportion
Opening: Think-Pair-Share: facial proportion and features
DISCUSSION: Step by step of how features are placed on the
Face based on proportion
Step-by step: Adding Hair
Visual Spacial learners: 4 quick visuals on face proportion
ACTIVITY: Students draw and shade a face (Two days)
Teacher Models:
Step by step facial proportion
Students simultaneously draw proportion rules
In sketchbooks
Check for Understanding:
Monitor room During Step by Step Modeling in sketchbook
Monitor throughout second mouth and partner mouth
Day 7: Power Point Presentation: Artist: Frederic Bonin-Pissarro and
Self-expression
Opening: Before and After: complete a blind contour sketch of the face across from you. Two minutes.
Compare and contrast to previous Blind Contour face
Let’s Talk about Art
Discussion on art and critique
Describe
Analyze
interpret
Art History: show work of Camille Pissarro
Impressionism movement
Father of impressionism: Monet?
Pissarro
Frederic Bonin-Pissarro Portrait
Describe, Analyze, Interpret
Video
Video
Artist Information
Self Expression
Self Portrait
Final Artwork assigned
PROCEDURES: Students complete a self portrait using mirrors, proportion and self expression
Step1: using a mirror and pencil, Draw a self portrait in proportion based on knowledge gained throughout previous discussions and practice.
Step2: Complete Self Portrait using Oil Pastels and self expression